The studio I lived in near downtown Toronto was 380 square feet, one window, and a kitchen that was really just a wall. For the first few months I treated it like a bedroom that happened to have a stove, and it felt like one — the bed was the first thing you saw walking in, the only place to sit, and the surface everything landed on.
The fix wasn’t more furniture or a Murphy bed I couldn’t afford. It was deciding where the invisible lines were: this corner is for sleeping, this stretch of floor is for everything else, and the path between the door and the bathroom stays clear no matter what. Once the room had zones, it stopped feeling like one cramped bedroom and started feeling like a small apartment.
Here’s how to lay out a studio so it works for sitting, sleeping, working, and eating — without building anything, and with furniture you can take to the next place.
TL;DR: Map the walking path from the door to the bathroom first and keep it clear. Put the bed in the back corner furthest from the door. Use one piece — a floated sofa, an open shelf unit, or a ceiling-track curtain — to block the direct view of the bed. Give the daytime area one multipurpose piece (sofa bed, drop-leaf table, or desk). Keep two walls mostly empty so the room reads open.
Where Do You Start When the Whole Apartment Is One Room?
Start with the walking path, not the furniture. Stand in the doorway and trace the route you’ll walk fifty times a day: door to kitchen, door to bathroom, kitchen to bathroom. That path needs to stay 70–90cm wide and completely clear. Everything else is negotiable; that isn’t.
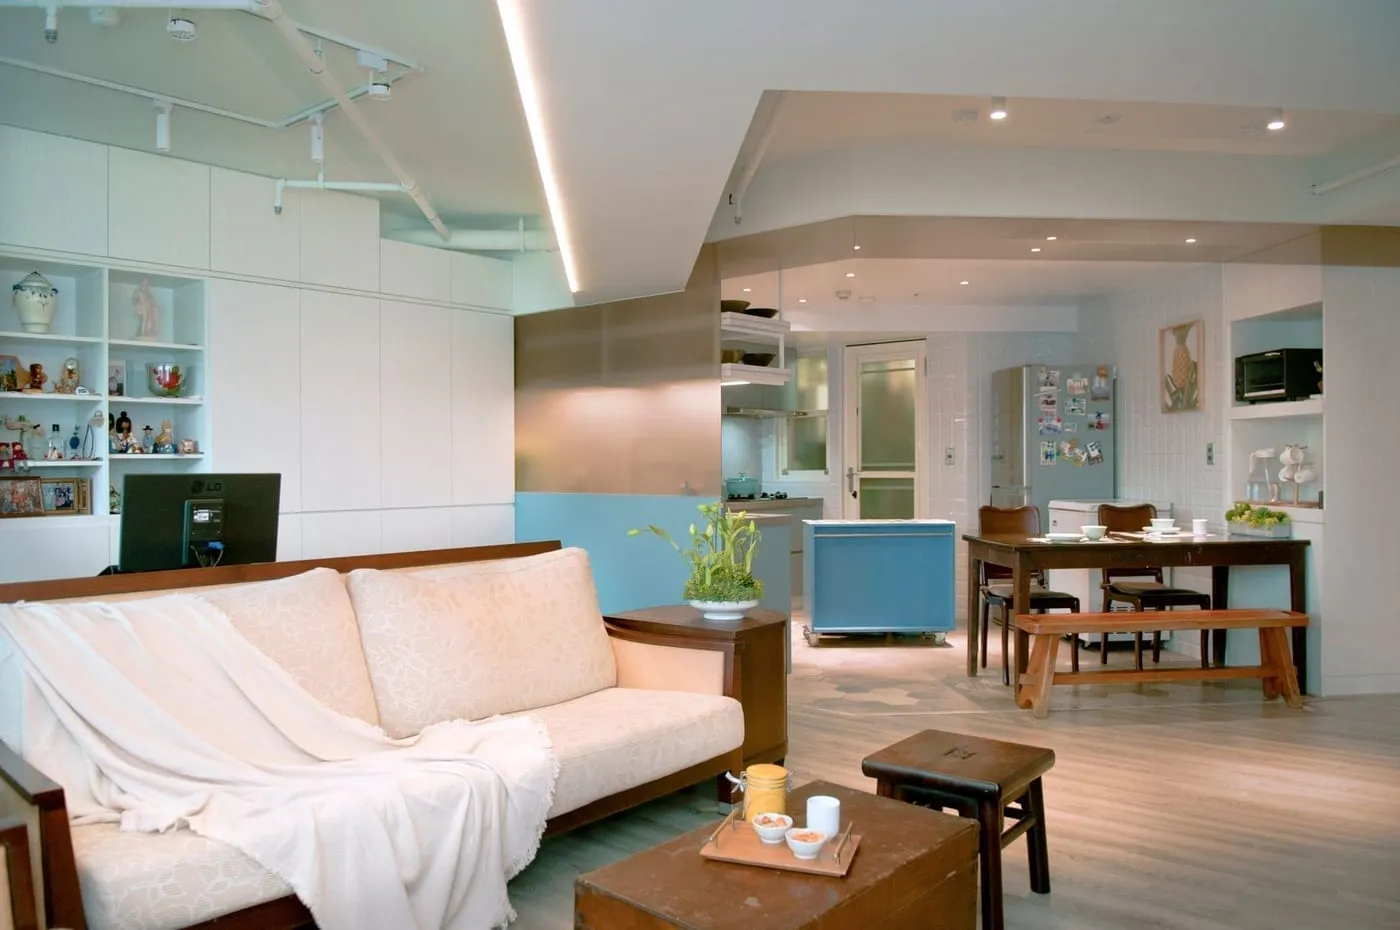
Once the path is drawn, you’re left with one or two pockets of usable floor on either side of it. In most studios that’s a larger open zone and a smaller one. The larger zone becomes your daytime area — sofa, table, desk. The smaller one, usually a corner, becomes the bed.
Do this before you buy or move a single thing. A tape measure and painter’s tape on the floor for an afternoon will save you from wrestling a couch into a spot it was never going to fit.
Where Should the Bed Go in a Studio?
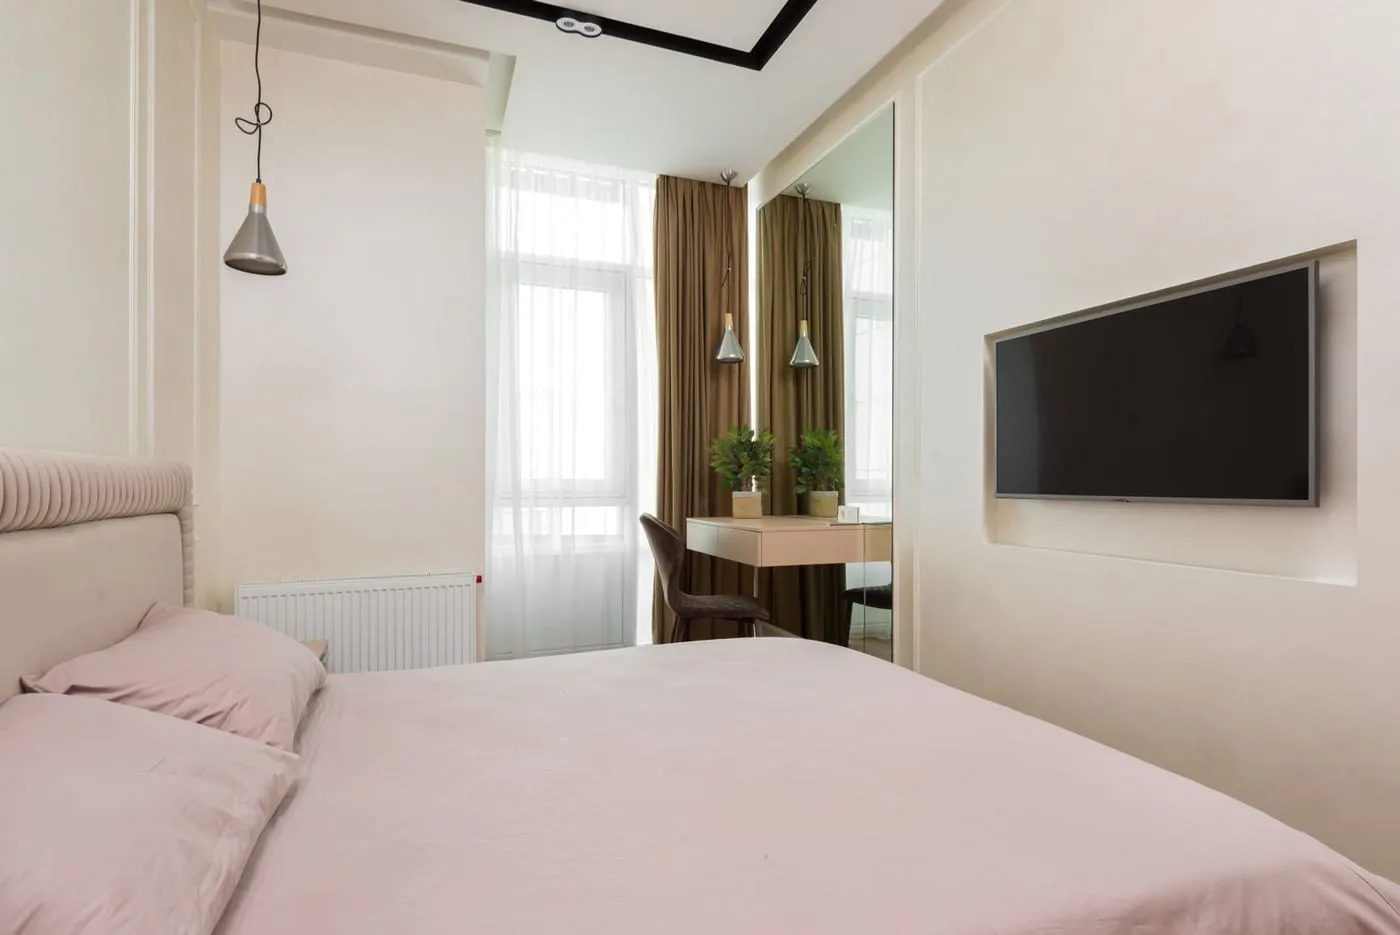
In the corner furthest from the front door, near a window if you have one, and off the main walking path. You want the bed to be the thing you don’t see first when you walk in, and the thing you don’t have to walk around to reach the kitchen.
A few specifics that make the corner work:
- Push it into the corner, long side against the wall, if only one person sleeps there — it frees a surprising amount of floor versus having both long sides accessible.
- Leave 60cm on the open side so you can make it and get in and out.
- Don’t block the window. A bed under a window is fine; a bed in front of a window you then can’t open or reach is not.
- Use the wall above it. A couple of shelves or a slim wall-mounted light replaces the nightstand you don’t have room for.
If the only spot for the bed is visible from the door, that’s when you add a divider — covered next.
How Do You Divide a Studio Without Building a Wall?
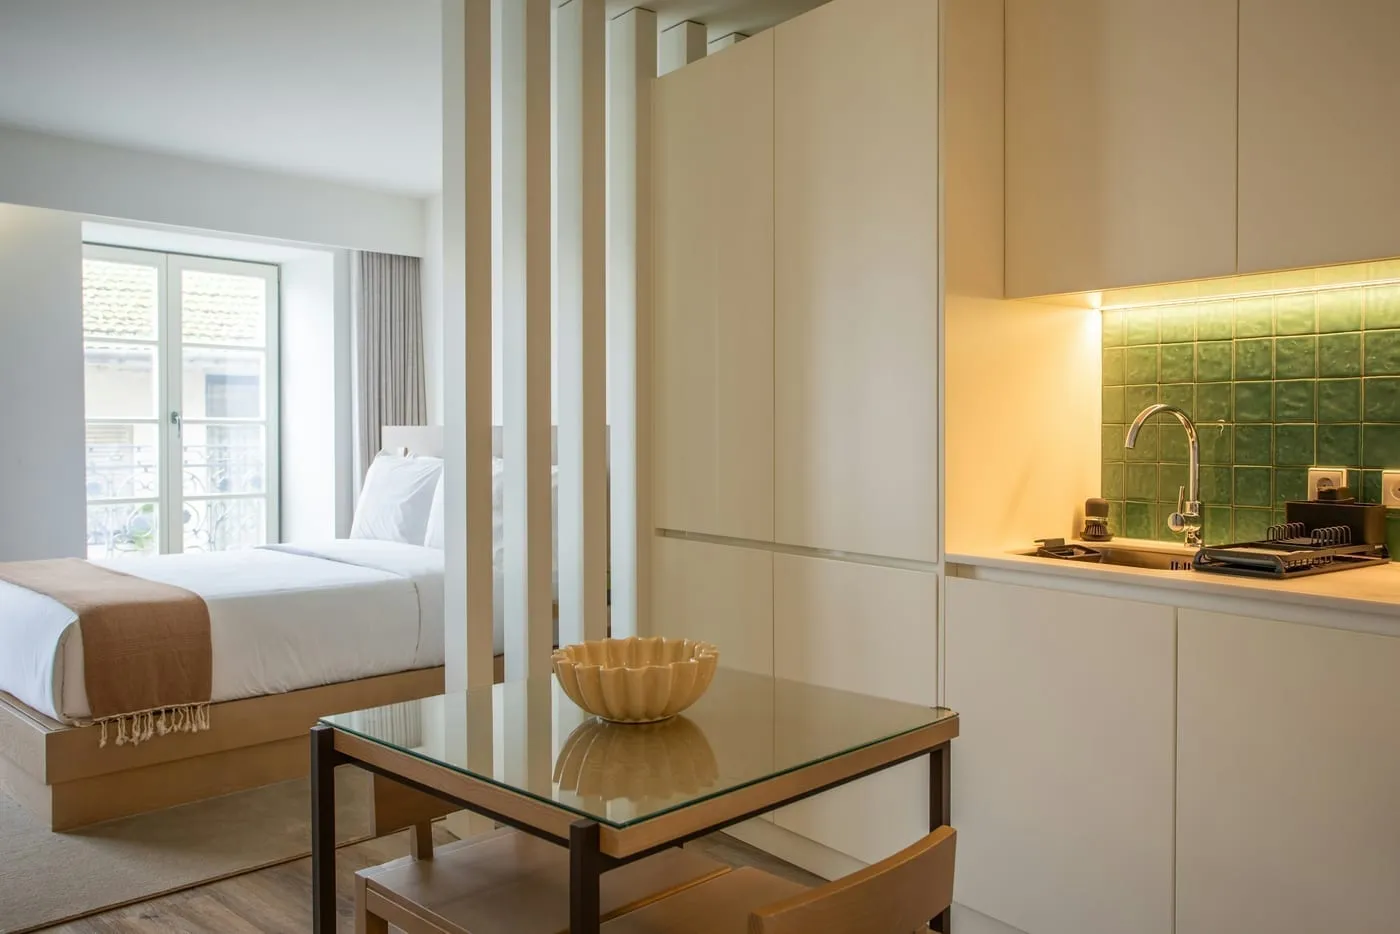
Block the sightline, don’t seal the room. You’re trying to stop someone standing at the door or sitting on the sofa from looking straight at an unmade bed — not create a second sealed bedroom. Four renter-safe ways to do it:
- Float a sofa with its back to the bed. This is the cleanest divider because the sofa earns its place anyway — it just faces into the living zone instead of sitting against a wall.
- An open shelving unit (IKEA KALLAX 2x4 on its side, ~$120 CAD) as a low partition. Open backs let light through so neither side goes dark, and you get storage on both faces.
- A ceiling-track curtain across the bed alcove, $30–$60 CAD for the track plus a curtain panel. Drawn at night, open during the day. This is the most complete separation and the cheapest.
- A tall narrow bookcase at the foot or side of the bed as a partial screen. Anchor it to the wall with a $6 anti-tip strap.
Skip folding screens unless the room is genuinely tiny — they take floor space, tip easily, and rarely look as good in a real room as they do in the catalogue.
What’s the Best Furniture Layout for the Living Zone?
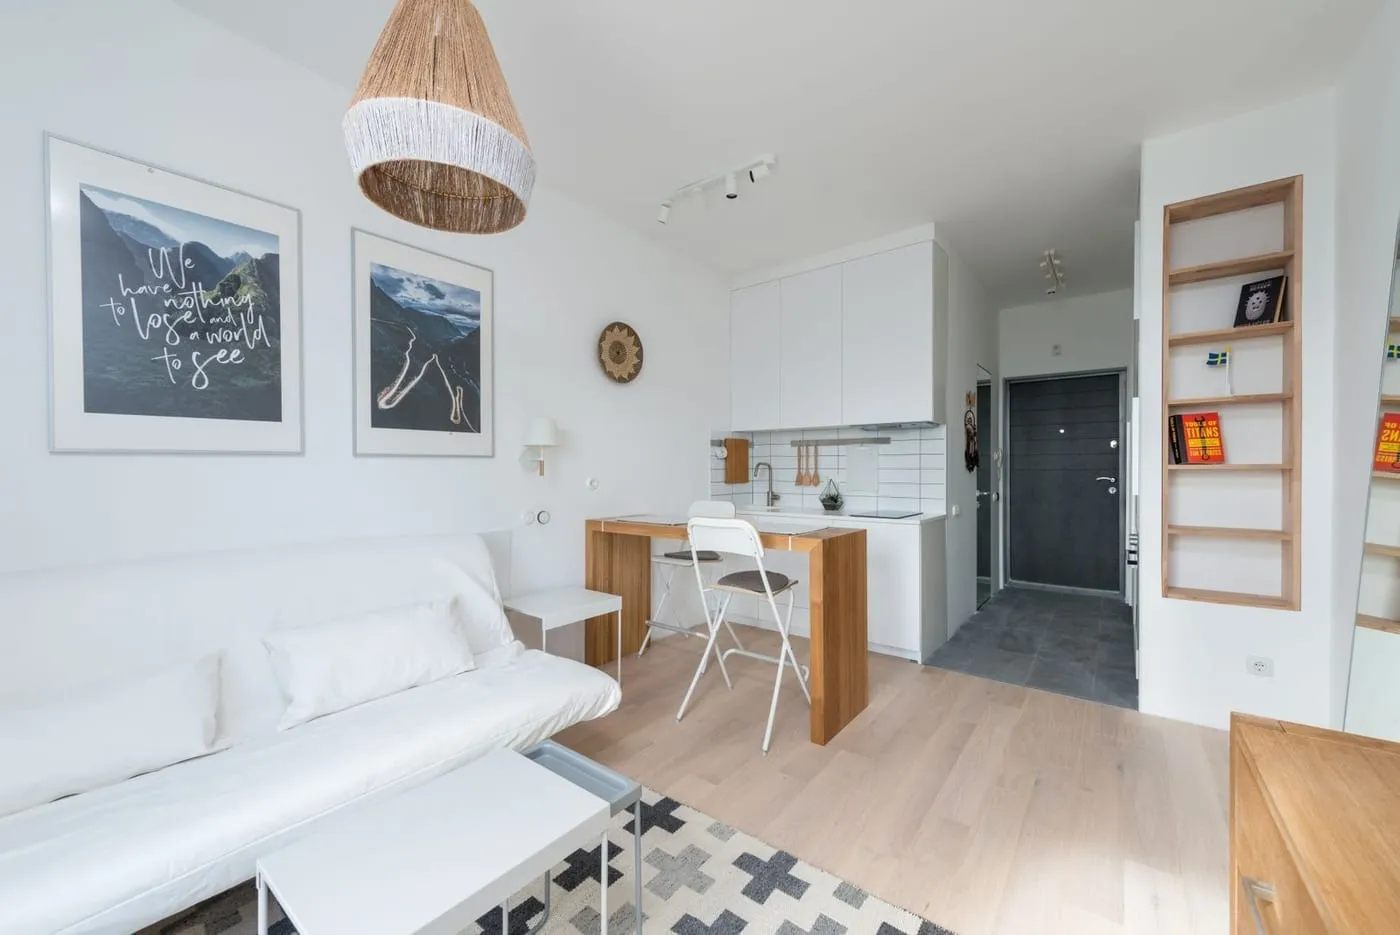
Pick one piece to do the heavy lifting and keep the rest minimal. In a studio, the daytime zone can’t hold a full living-room set and a dining set and a desk. Choose the format that matches how you actually live:
- You have guests or a partner staying over → a real sofa bed (not a futon) as the main seat, plus a small side table. Skip a separate guest solution.
- You work from home → a desk that doubles as a dining table, a comfortable task chair that doesn’t look like an office chair, and one armchair for actual relaxing.
- You mostly cook and eat at home → a drop-leaf or gate-leg table against the wall (folds to 25cm deep, opens to seat two to four) and two chairs that tuck fully under it.
Whatever you choose, keep it off the walls where you can. Furniture pushed against every wall makes a small room feel like a waiting area. One floated piece and some breathing room reads as deliberate.
For the pieces themselves — sizes that fit, where to buy them in Canada — see small-space furniture.
How Do You Fit a Home Office Into a Studio?
Put a narrow desk against a wall you’re not otherwise using, facing a window or a blank wall rather than the bed. A 60–100cm wide, 40–50cm deep desk fits almost anywhere and is enough for a laptop and a monitor.
Options by how tight the space is:
- Some free wall → a slim writing desk or a console table (many are 30cm deep) with a drawer.
- No free wall → a fold-down wall-mounted desk ($90–$180 CAD) that closes to a 15cm-deep panel when you’re done for the day.
- Truly no room → the dining table is the desk. Use a rolling cart or a cabinet nearby to stash the laptop, charger, and notebook at 5pm so the table becomes a table again.
The one rule: get the chair fully under the desk when you’re not working. A chair sticking out into the walking path is the fastest way to make a studio feel cramped.
Small Bedroom Layout Ideas That Also Apply Here
If your studio has a defined sleeping alcove — a lot of older Canadian buildings do — treat it like a small bedroom. The same layout rules apply:
- Bed long-side to the wall, headboard against the shortest wall.
- Storage goes vertical: shelves above the bed, a slim dresser rather than a wide one, under-bed bins on wheels.
- Keep one clear side to get in and out, minimum 55–60cm.
- A single wall light or clip light instead of a lamp on furniture you don’t have.
A storage bed does the most work here — the drawers or lift-up base replace a dresser entirely. If you’re weighing one up, the storage bed buying guide for small studios covers what’s worth the money.
Studio Layout by Apartment Size: A Quick Guide
| Studio size | Realistic layout | Divider |
|---|---|---|
| Under 350 sq ft | Bed in far corner, sofa bed as only seating, drop-leaf table, no dedicated desk | Ceiling curtain or floated sofa back |
| 350–450 sq ft | Bed corner zoned off, small sofa + armchair, narrow desk on a spare wall | KALLAX shelf unit or floated sofa |
| 450–550 sq ft | Distinct sleep alcove, full sofa, dining table for 2–4, proper desk | Open shelving unit, low bookcase |
| L-shaped or alcove studio | Bed in the alcove treated as a bedroom, main room fully for living | The wall is already there — use it |
The One Thing That Makes a Studio Work
Every studio layout that works has one thing in common: a clear line of empty floor you can see across the room. It doesn’t matter how small the apartment is — if you can stand at the door and see an unbroken stretch of floor to the far wall, the room feels calm. If furniture interrupts that line, it feels full no matter how little you own.
Draw the walking path, zone the bed into a corner, block the sightline with one piece, and leave two walls mostly bare. That’s the whole system, and it costs nothing but an afternoon with a tape measure.
→ For the furniture that fits these layouts, see small-space furniture and the storage bed buying guide. For styling the living zone once the layout’s set, small-space living room ideas.