Wall mounted shelves are one of the most practical storage upgrades in a small Canadian apartment — they use vertical space that would otherwise sit empty, keep the floor clear, and look intentional rather than improvised. The challenge is doing the installation correctly: a shelf that pulls out of the wall three months later, taking a chunk of drywall with it, is worse than no shelf at all.
This guide covers the full installation process for wall mounted shelves in a Canadian apartment — how to find studs, what to do when there is no stud, how to choose brackets, and the no-drill alternatives for renters who need zero wall contact.
Wall Mounted vs. Floating Shelves: Which to Choose
Both terms describe a shelf attached to a wall, but the hardware differs significantly.
Key takeaway: For Canadian rental apartments, bracket-style wall-mounted shelves are more practical than floating shelves. Brackets use smaller, predictable holes that are easy to patch, while floating shelves require a full-width wall cleat with more holes and precise alignment. For heavy storage, brackets are also significantly stronger.
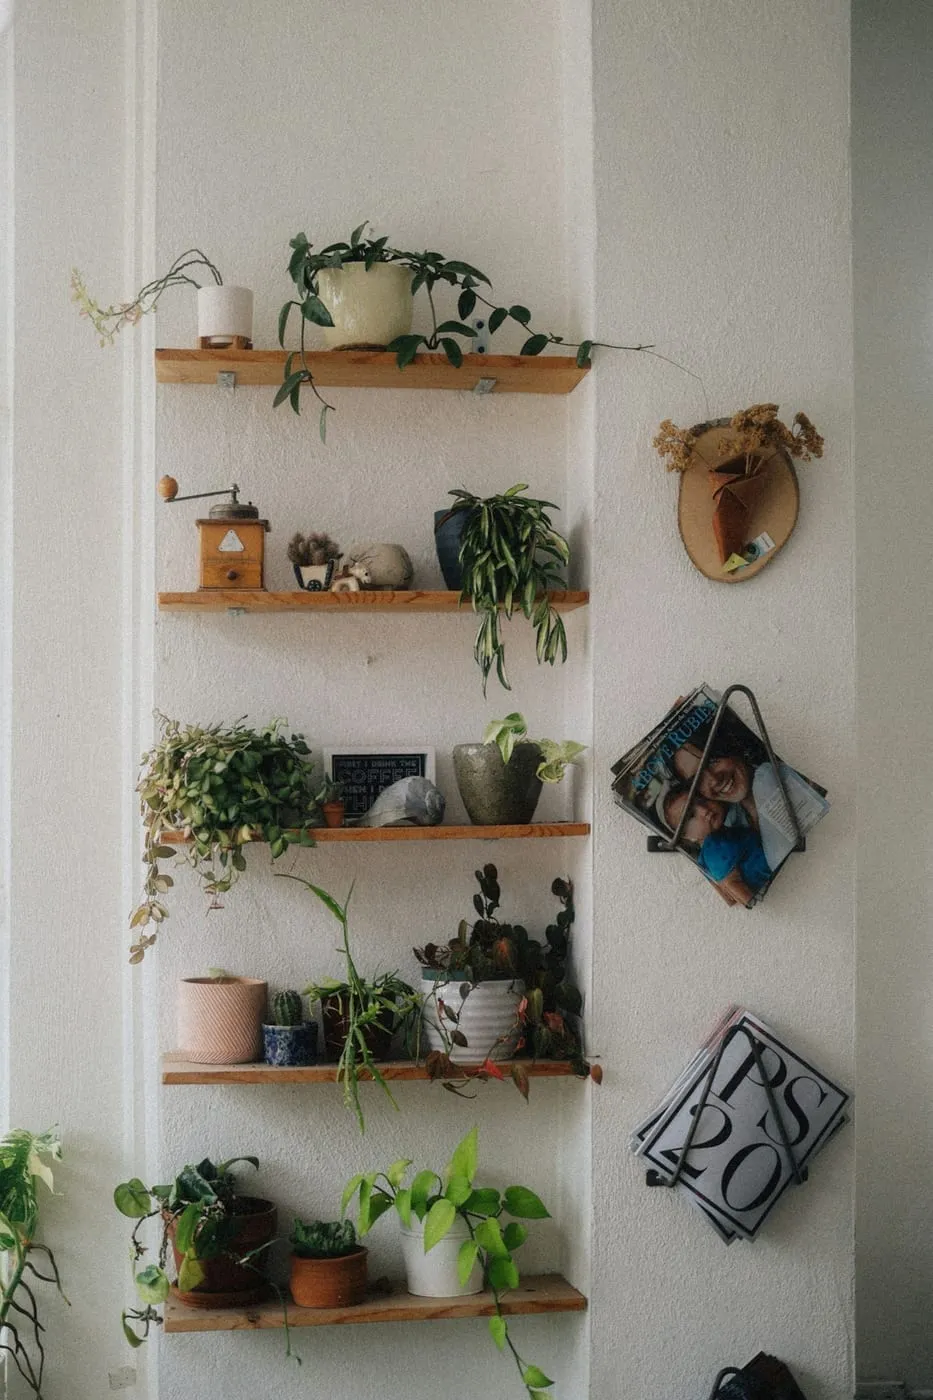
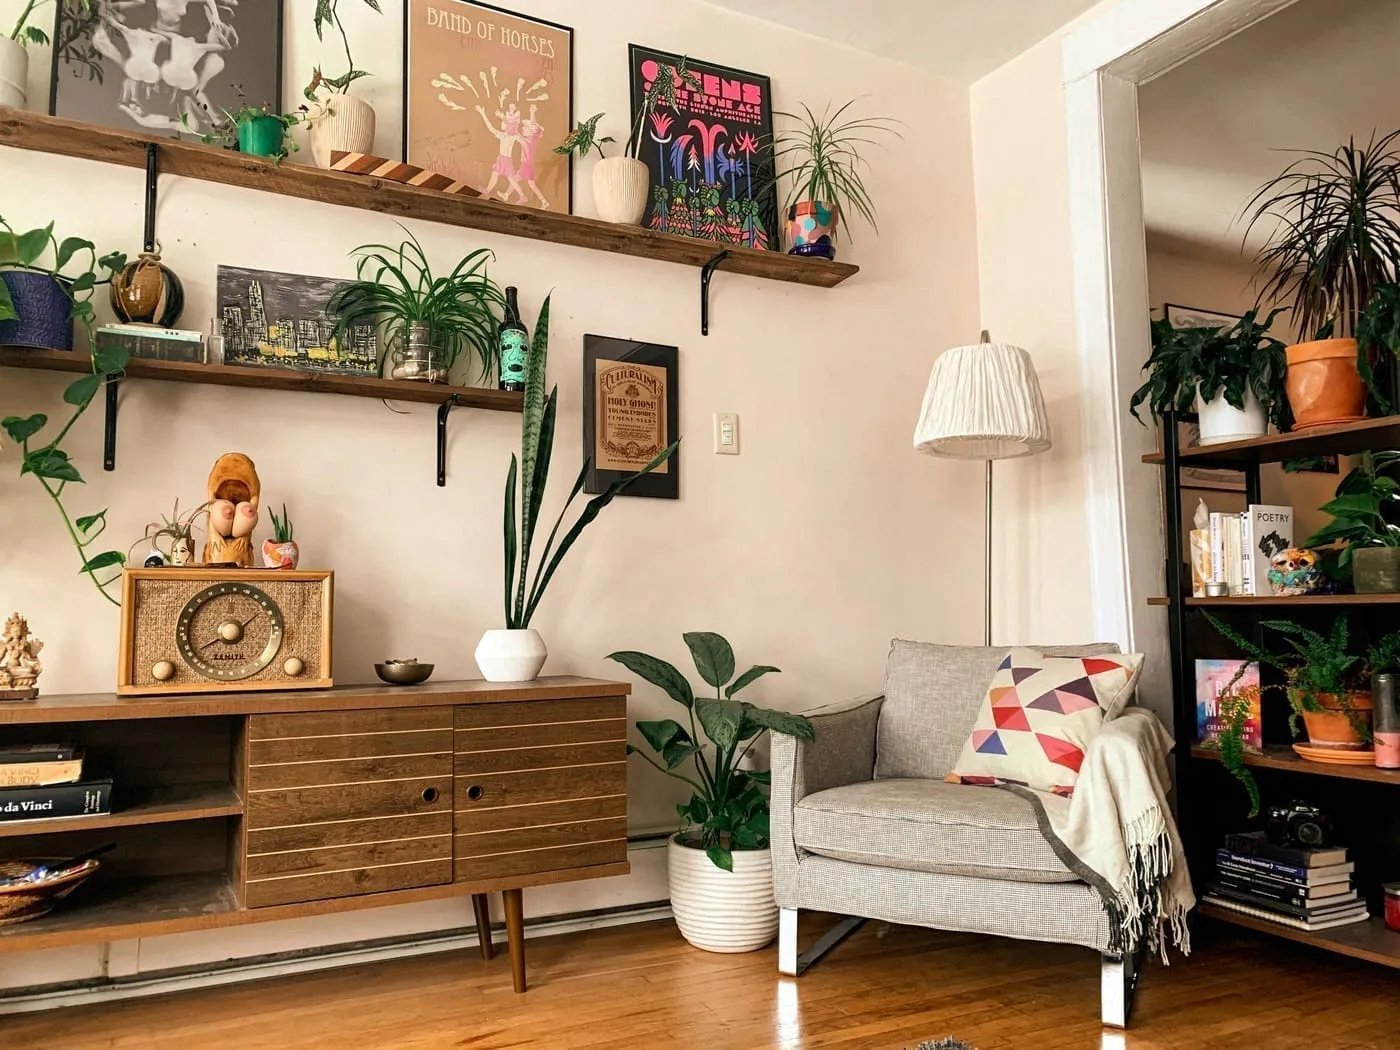
Wall mounted shelves (bracket style): The shelf board rests on visible L-shaped brackets screwed into the wall. The bracket carries the load. Installation is straightforward — find the mounting points, screw in the brackets, lay the shelf on top. Heavy loads are possible with the right anchors.
Floating shelves (hidden hardware): The shelf slides onto a wall-mounted cleat or set of pins, hiding all hardware inside the shelf body. Looks cleaner, but installation requires precise alignment of the hidden mounting points — a few millimetres off and the shelf won’t sit flat. Also harder to level without a reference surface visible.
Which to choose for a rental apartment: Bracket shelves are more practical. The brackets are visible but the holes are smaller and more predictable to patch. A floating shelf requires a longer wall mount (the full-width cleat), which means more holes and more drywall involvement. For heavy storage, brackets are also significantly stronger.
Step 1: Find the Studs
This is the most important step. Everything else depends on knowing where the studs are.
What studs are and why they matter
Stud walls in Canadian residential construction use 2×4 or 2×6 lumber framing at 16 inches (40.6 cm) or 24 inches (61 cm) on centre. Drywall (gypsum board) is fastened to this frame. A screw into a stud goes into solid wood — strong. A screw into drywall between studs goes into compressed gypsum — weak.
How to find studs in a Canadian apartment
Magnetic stud finder ($10–$20 at Canadian Tire): Detects the drywall screws used to fasten the drywall to the studs. These are ferrous metal — the magnet sticks to them. Slide the finder slowly along the wall at the height you want your shelf. Mark every location where the magnet engages. Two marks about 40 cm apart confirm a stud.
Electronic stud finder ($20–$45 at Canadian Tire or Home Depot Canada): Detects density changes behind drywall. More accurate than magnetic finders but requires calibration — press it flat against the wall, press the button, then slide slowly. Mark both edges of the stud (where the signal starts and where it ends); the centre is your target.
The knock test (free): Knock slowly along the wall with your knuckle. A hollow sound means no stud; a denser, less resonant sound means stud. Less reliable than a finder but confirms what the finder detected.
16-inch spacing rule: Once you find one stud, the next is 40–41 cm away (standard Canadian residential framing). Mark that distance from the first stud — confirm with the finder before drilling.
Step 2: What to Do When There Is No Stud
Studs are 40 cm apart. Shelf brackets are typically 40–60 cm apart (for a standard 80–120 cm shelf). In many cases, at least one bracket will land between studs — in drywall only.
Toggle bolts (butterfly anchors)
Toggle bolts are the correct solution for drywall-only mounting. They work by pushing a spring-loaded or gravity-operated toggle through a hole in the drywall; the toggle opens on the back side and distributes the load against a larger area of the drywall panel.
Load capacity: A standard 3/16-inch toggle bolt in 12.7 mm drywall holds 15–25 kg. A 1/4-inch toggle holds 25–35 kg. Much stronger than a standard drywall screw (which holds 5–10 kg before pull-out).
Installation steps:
- Drill a hole the exact diameter of the toggle in its folded state — typically 12–14 mm for a standard toggle bolt. Use a drill bit 1 mm larger than the toggle diameter.
- Thread the toggle onto the bolt, fold the wings flat, insert through the hole.
- Pull the bolt back toward you (so the toggle opens against the back of the drywall), then tighten with a screwdriver. The toggle wings grip the inside face of the drywall.
- Do not overtighten — you feel resistance when the toggle is seated; a few turns past that is sufficient.
Removal: Toggle bolts cannot be easily removed intact. Cut the bolt flush with the wall surface and spackle the hole. This leaves a 12–14 mm hole — larger than a screw hole but still patchable.
Where to buy in Canada: Canadian Tire, Home Depot Canada, and RONA all carry toggle bolts. A 10-pack of standard size is $6–$12.
Molly bolts (sleeve anchors)
Molly bolts are an alternative to toggle bolts — a sleeve that expands inside the drywall when tightened. They hold 10–20 kg and leave a smaller hole than standard toggles on removal (the sleeve can be tapped back through the wall). Good for lighter shelves where you want cleaner removal later.
Step 3: Choose the Right Brackets
Standard L-bracket
The most common bracket — an L-shaped metal piece with holes for screws on both the wall side and the shelf side. Available in every hardware store in Canada.
Sizing: The bracket’s horizontal arm should be 2–5 cm shorter than the shelf depth. A 20 cm deep shelf uses a 15–18 cm bracket; a 30 cm deep shelf uses a 25–28 cm bracket. A bracket that extends to or beyond the shelf edge is unstable.
Material and finish: Steel brackets in matte black, white, or brushed nickel are the most common residential choices. Heavy-gauge steel (3 mm+) for shelves holding books or kitchen items; lighter gauge acceptable for decorative shelves under 5 kg.
Where to buy in Canada:
- Home Depot Canada (Everbilt brand): wide selection, $3–$8 per bracket depending on size
- RONA: similar range, often slightly less variety
- Amazon.ca: bulk packs (10–20 brackets), good for a multi-shelf installation, $15–$40 for a set
- IKEA EKBY bracket series: specifically designed for IKEA shelf boards, $5–$10 per bracket
Floating shelf bracket (hidden pin system)
If you want the floating look with bracket-strength installation, hidden pin brackets achieve this. The pins insert into pre-drilled holes in the back of the shelf board; the shelf slides on and hides the hardware.
Where to buy: Amazon.ca carries hidden shelf bracket sets for $15–$30 (set of 2–4 brackets). Ensure the rod diameter matches the hole size you drill in the shelf — typically 10 mm or 12 mm.
French cleat
A French cleat is a wall-mounted strip cut at a 45-degree angle. A matching 45-degree cut on the shelf or a shelf bracket hooks over it. The result is a system where shelves can be repositioned horizontally at any point along the cleat — no re-drilling to move a shelf left or right.
Best use: A home office or garage wall where you want to add, remove, and reposition multiple shelves over time. Less common in living areas because the cleat itself (typically 5–10 cm tall) is visible on the wall between shelves.
Material: 18–25 mm plywood (available at Home Depot Canada, cut to size for ~$10–$20 per linear metre) is the standard. Mount the cleat into studs with 3-inch screws — it carries the load of every shelf attached to it.
Step 4: Installation
What you need
- Drill with a bit set (standard kit from Canadian Tire ~$25–$40 includes the sizes you need)
- Level (torpedo level,
$10–$15) or laser level ($30–$60) - Pencil
- Stud finder
- Appropriate anchors (stud screws or toggle bolts)
- Brackets
- Shelf board
The installation sequence
-
Mark the shelf height. Use the level to draw a faint pencil line at the exact height of the bracket tops. If the line is not level, the shelf is not level — no amount of adjustment after the fact fixes this.
-
Mark bracket positions. For a standard 80–100 cm shelf, two brackets positioned 10–15 cm from each end. For a shelf over 120 cm, add a centre bracket. Mark the centre of each bracket location on the level line.
-
Identify stud vs. drywall. At each bracket mark, confirm whether you are over a stud or between studs. Stud = screws directly. Between studs = toggle bolts.
-
Drill pilot holes. For stud screws: a 2.5 mm pilot hole prevents splitting. For toggle bolts: drill the full-size hole (12–14 mm) at the bracket location.
-
Mount brackets. Into studs: use 3-inch (76 mm) #10 wood screws — long enough to pass through the bracket, through the drywall (12.7 mm), and 40+ mm into the stud. Into drywall: install toggle bolts as described above, then mount the bracket to the bolt.
-
Check level one more time before tightening fully. Once all brackets are level-confirmed, tighten all fasteners.
-
Place the shelf board. Rest it on the brackets. Secure with screws from below if the brackets have shelf-side holes (recommended for shelves that may be bumped or that hold items in earthquake-prone areas). Leave 1–2 mm of shelf overhang on each side for a clean edge.
No-Drill Alternatives
If drilling is not an option, see the floating shelves guide for adhesive, tension pole, and freestanding options. For context: Command adhesive shelves hold 2–5 kg; tension pole shelves hold 20–30 kg and require no wall contact; freestanding ladder shelves hold 30–50 kg and lean against the wall.
Shelf Boards Available in Canada
| Source | Board | Dimensions | Price CAD |
|---|---|---|---|
| IKEA | BERGSHULT | 80 × 20 cm, 120 × 20 cm | $20–$40 |
| IKEA | EKBY STÖDIS shelf | Various | $10–$20 |
| Home Depot Canada | Pine board (custom cut) | Any length, 20–30 cm deep | $8–$20/linear m |
| RONA | Melamine shelf board | Standard widths | $10–$25 |
| Amazon.ca — Love-KANKEI set of 3 | Solid wood floating shelf set | Set of 3 mixed sizes | $25–$35 |
For shelves holding heavy items — books, plants in ceramic pots, kitchen appliances — use solid pine or MDF boards at least 18 mm thick. Thinner boards bow under sustained load.
For the no-drill version of everything in this guide, floating shelves for apartments covers adhesive, tension, and freestanding options in detail. And for the full storage picture across every room, storage ideas for small apartments covers all the options.